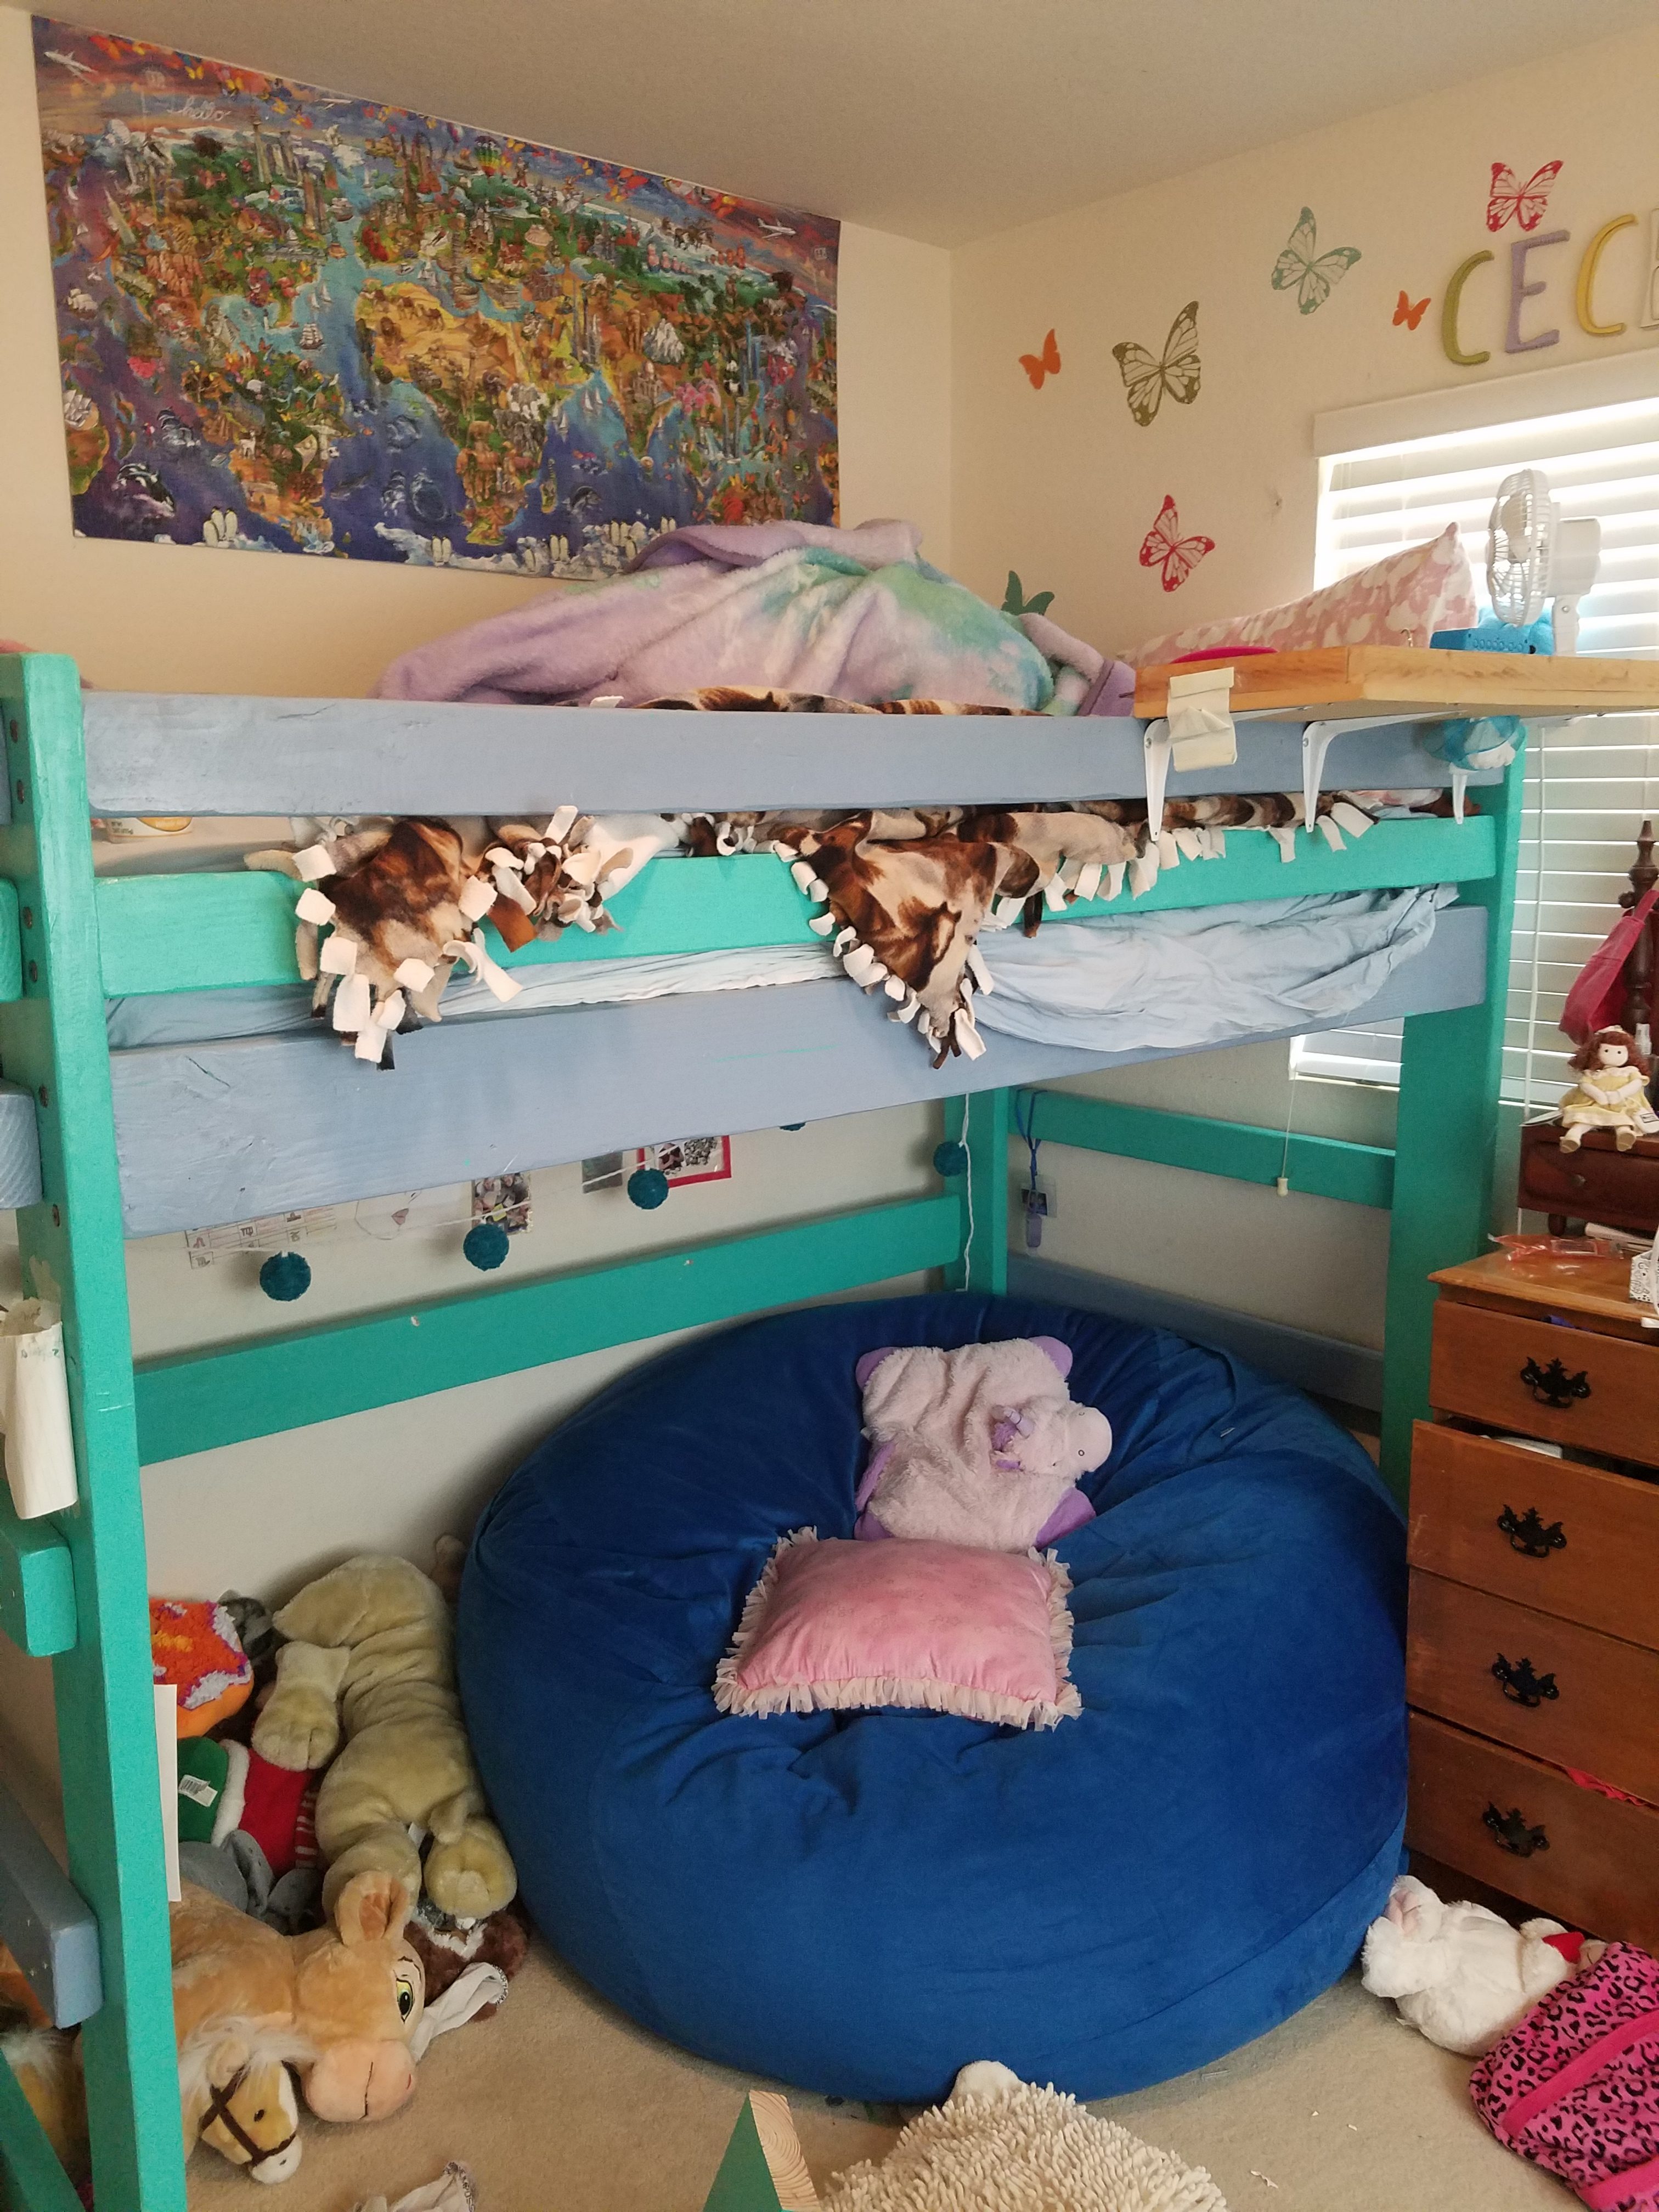
Building Our Daughter a DIY Loft Bed
When our daughter turned 10 she decided she wanted a custom loft bed. The idea is she would be like a college student with her desk and “work area” underneath the bed. She searched the Internet for pictures of what she wanted and I realized this was something we could build ourselves. I wasn’t prepared to spend a fortune on a new piece of furniture I figured she would outgrow in a couple of years. So we set about building a DIY loft bed ourselves for under $200. In this post we will describe the process we went through to create what is now a loft bed for a teenager.
Going online you can find all kinds of do-it-yourself plans for building a loft bed. Many of these plans are free. In our case, I wanted to make sure we had something very sturdy for our precious child so we paid $10 to order a set of plans from Bunk Beds Unlimited. They have all kinds of plans but the one she wanted was the Loft Plan Full Size Tall. When ordering the plans we noticed you could also buy the screws and bolts for $51.50. That seemed a lot for 32 bolts and a little over 100 screws but some research showed this was a pretty fair price. The cheapest price we could find for the 32 bolts was $1.40 each and without looking we couldn’t be sure they were as solid as the bolts from Bunk Bed Unlimited. So in the end, we paid the $62 for the plans and hardware, shipping included.
The plans were easy to use and I really recommend making the $10 investment because you really need to make sure to get exact measurements. We have built projects using free online plans where the measurements were off enough to screw everything up. Once you have the plans you can start ordering the wood. Basically you need a bunch of 2 x 4 and 2 x 6 boards that came to about $70. You also need a big sheet of plywood for the mattress and the prices can range significantly. We paid about $30 for ours. Add in another $30 or so for paint and the total cost is under $200.
| Item | Cost |
|---|---|
| Loft Bed Plans | $9.95 |
| Hardware | $51.50 |
| Lumber | $100 |
| Paint | $30 |
| Total Cost | $191.45 |
Tools Needed: Circular Saw, Hammer, Power Drill, Sander, Paint or Varnish, Brushes

The plans were easy to follow but you still need to make sure and take time to read through them before starting. For a sample of what the plans look like you can see Bunk Bed Unlimited’s free plans, mainly for storage drawers. The full plans follow a similar format but obviously are significantly longer. Basically for any one these beds the procedure is the same:
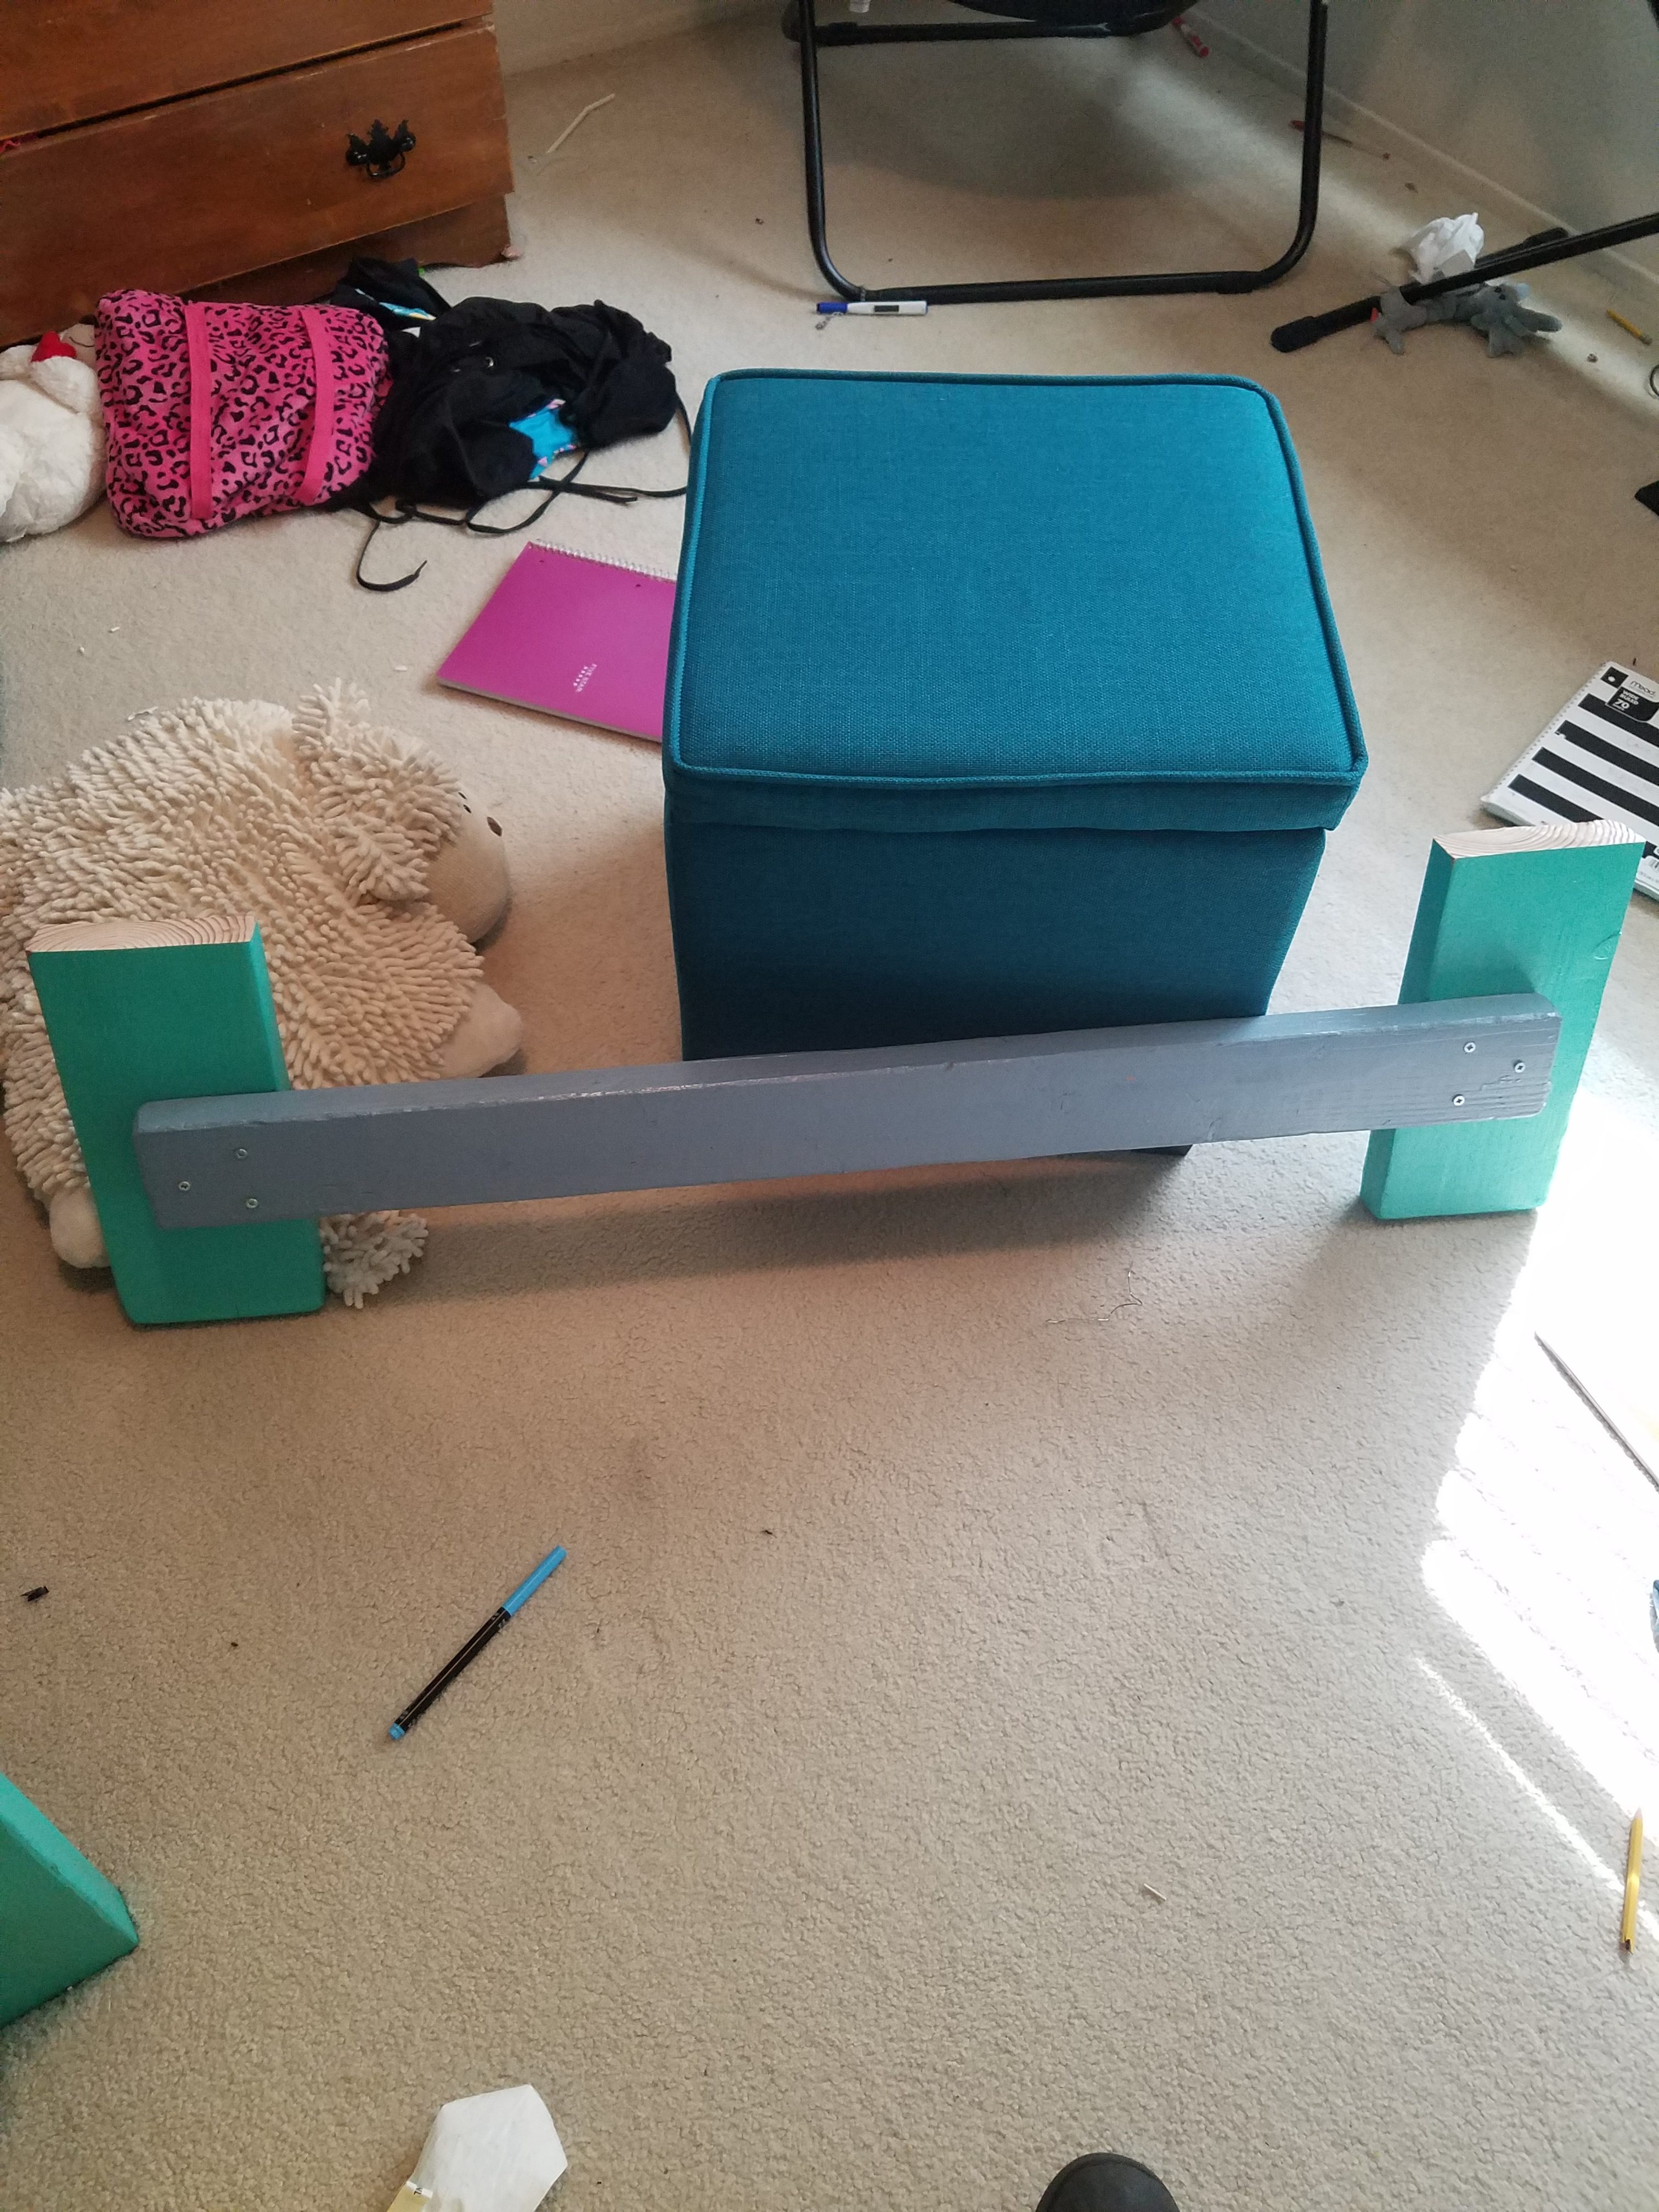
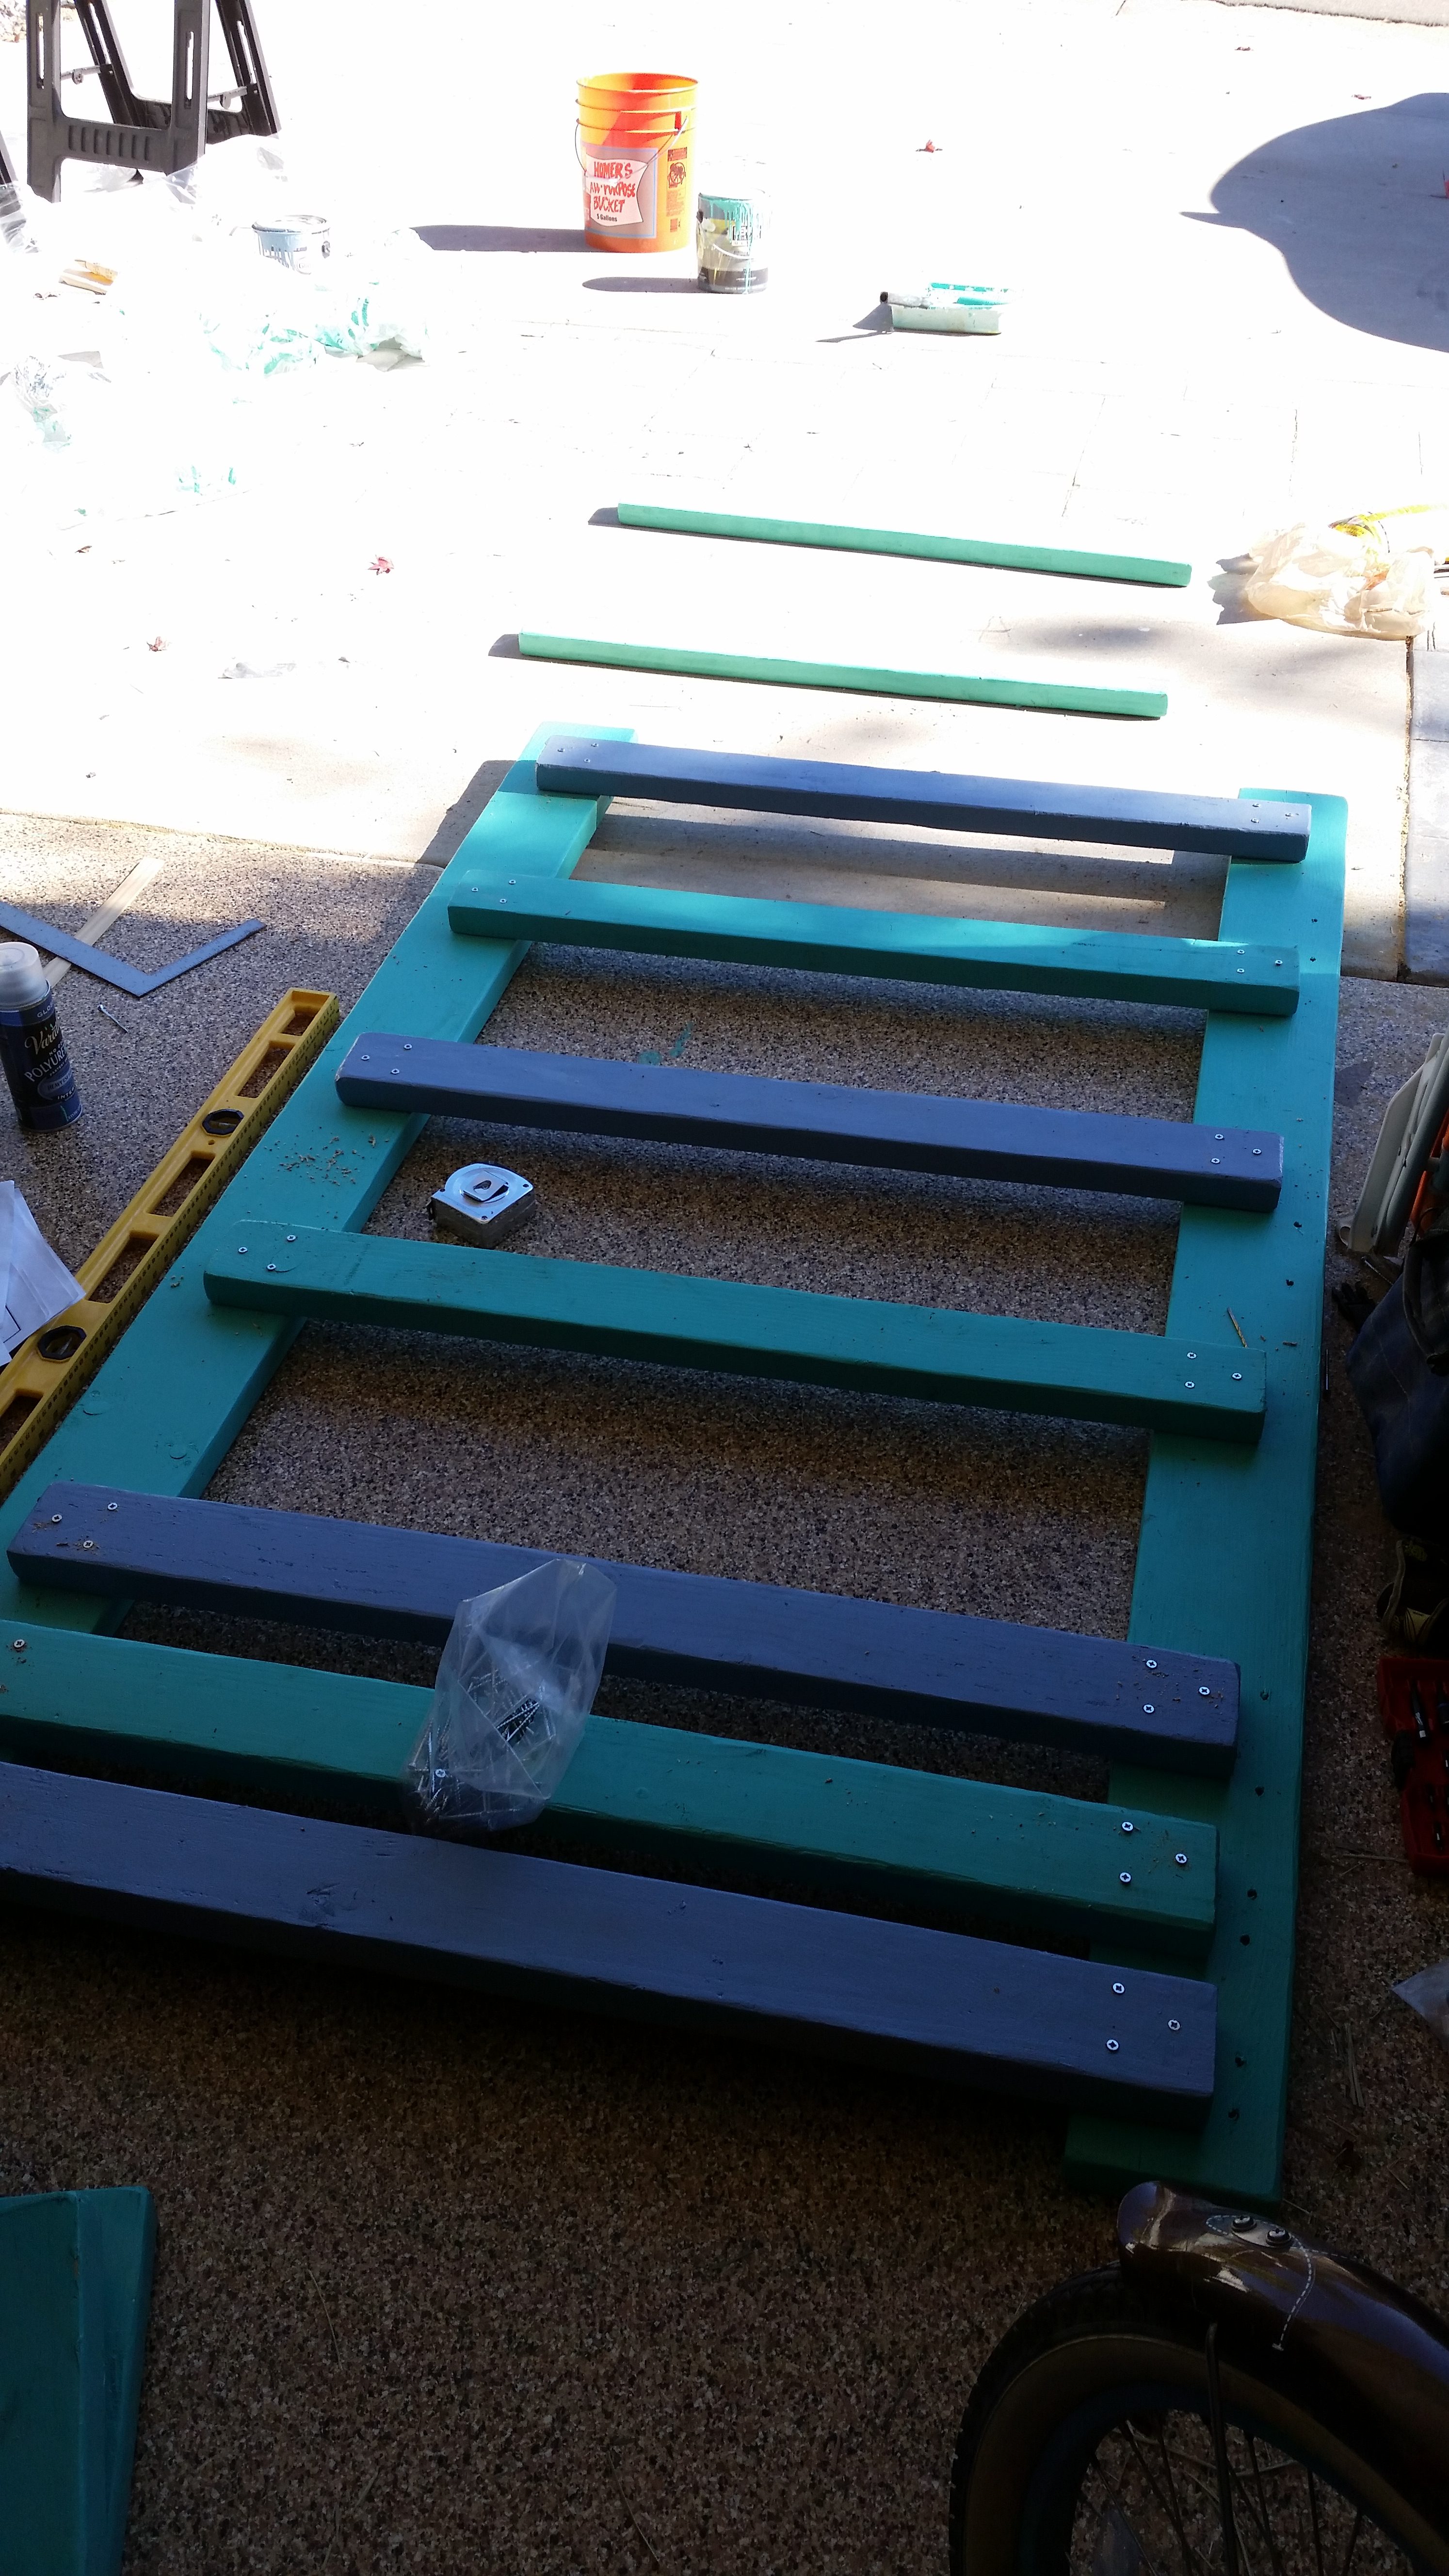
- Saw wood to length: The sawing part is as easy as you are just doing straight cuts to get the boards to the right length. If you don’t have a circular saw you can probably get your lumber store to cut them for you. This step is maybe a half an hour.
- Measure and drill holes: This step requires a little more care. The main step is to measure EXACTLY, because on assembly everything must match up. We took the time to measure a couple times before drilling. You are going to drill a lot of holes but the most important ones are the 32 holes where the lag bolts will go. This process is probably one to two hours.
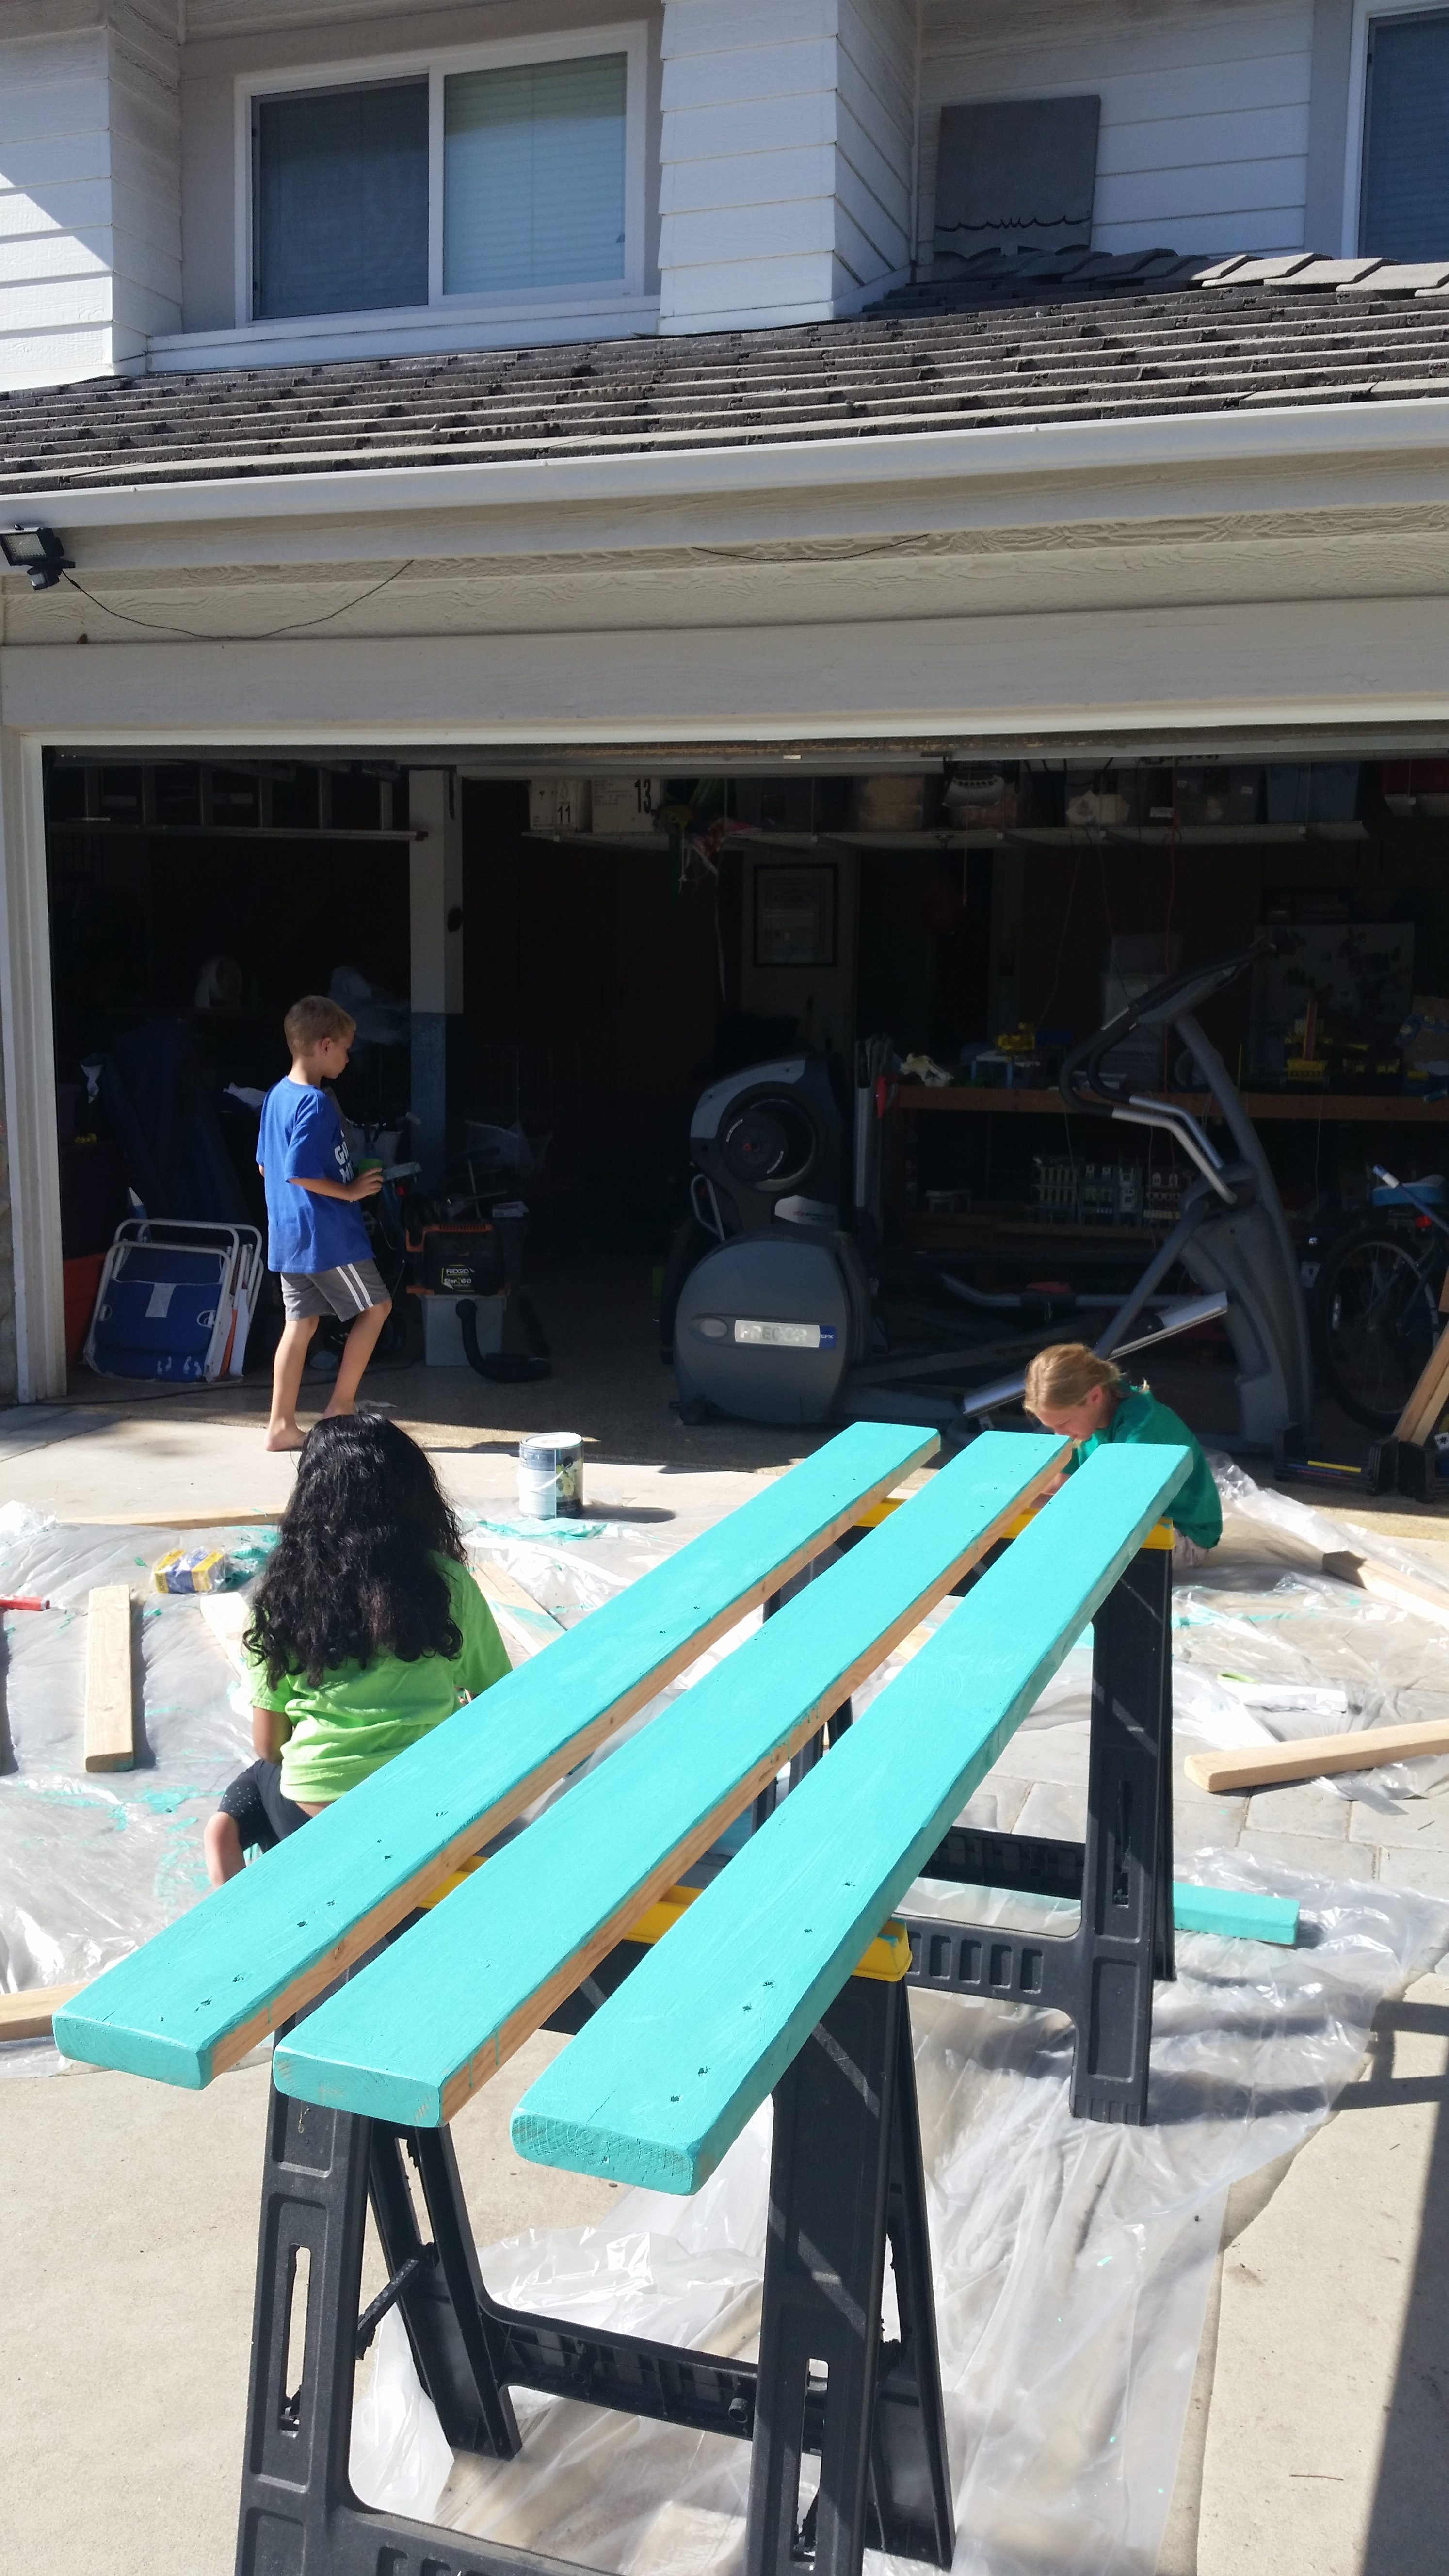
- Sand: Sanding is always a pain. We have a circular sander so this goes pretty fast. Because we were priming and painting we were not as detailed as if we were staining. This step is about an hour as there is quite a bit of wood involved.
- Painting or staining: We painted our bed. Our daughter picked the colors and did the painting with her friends. It probably took them 2 hours. Staining would probably take more care so we were happy she choose to paint it.
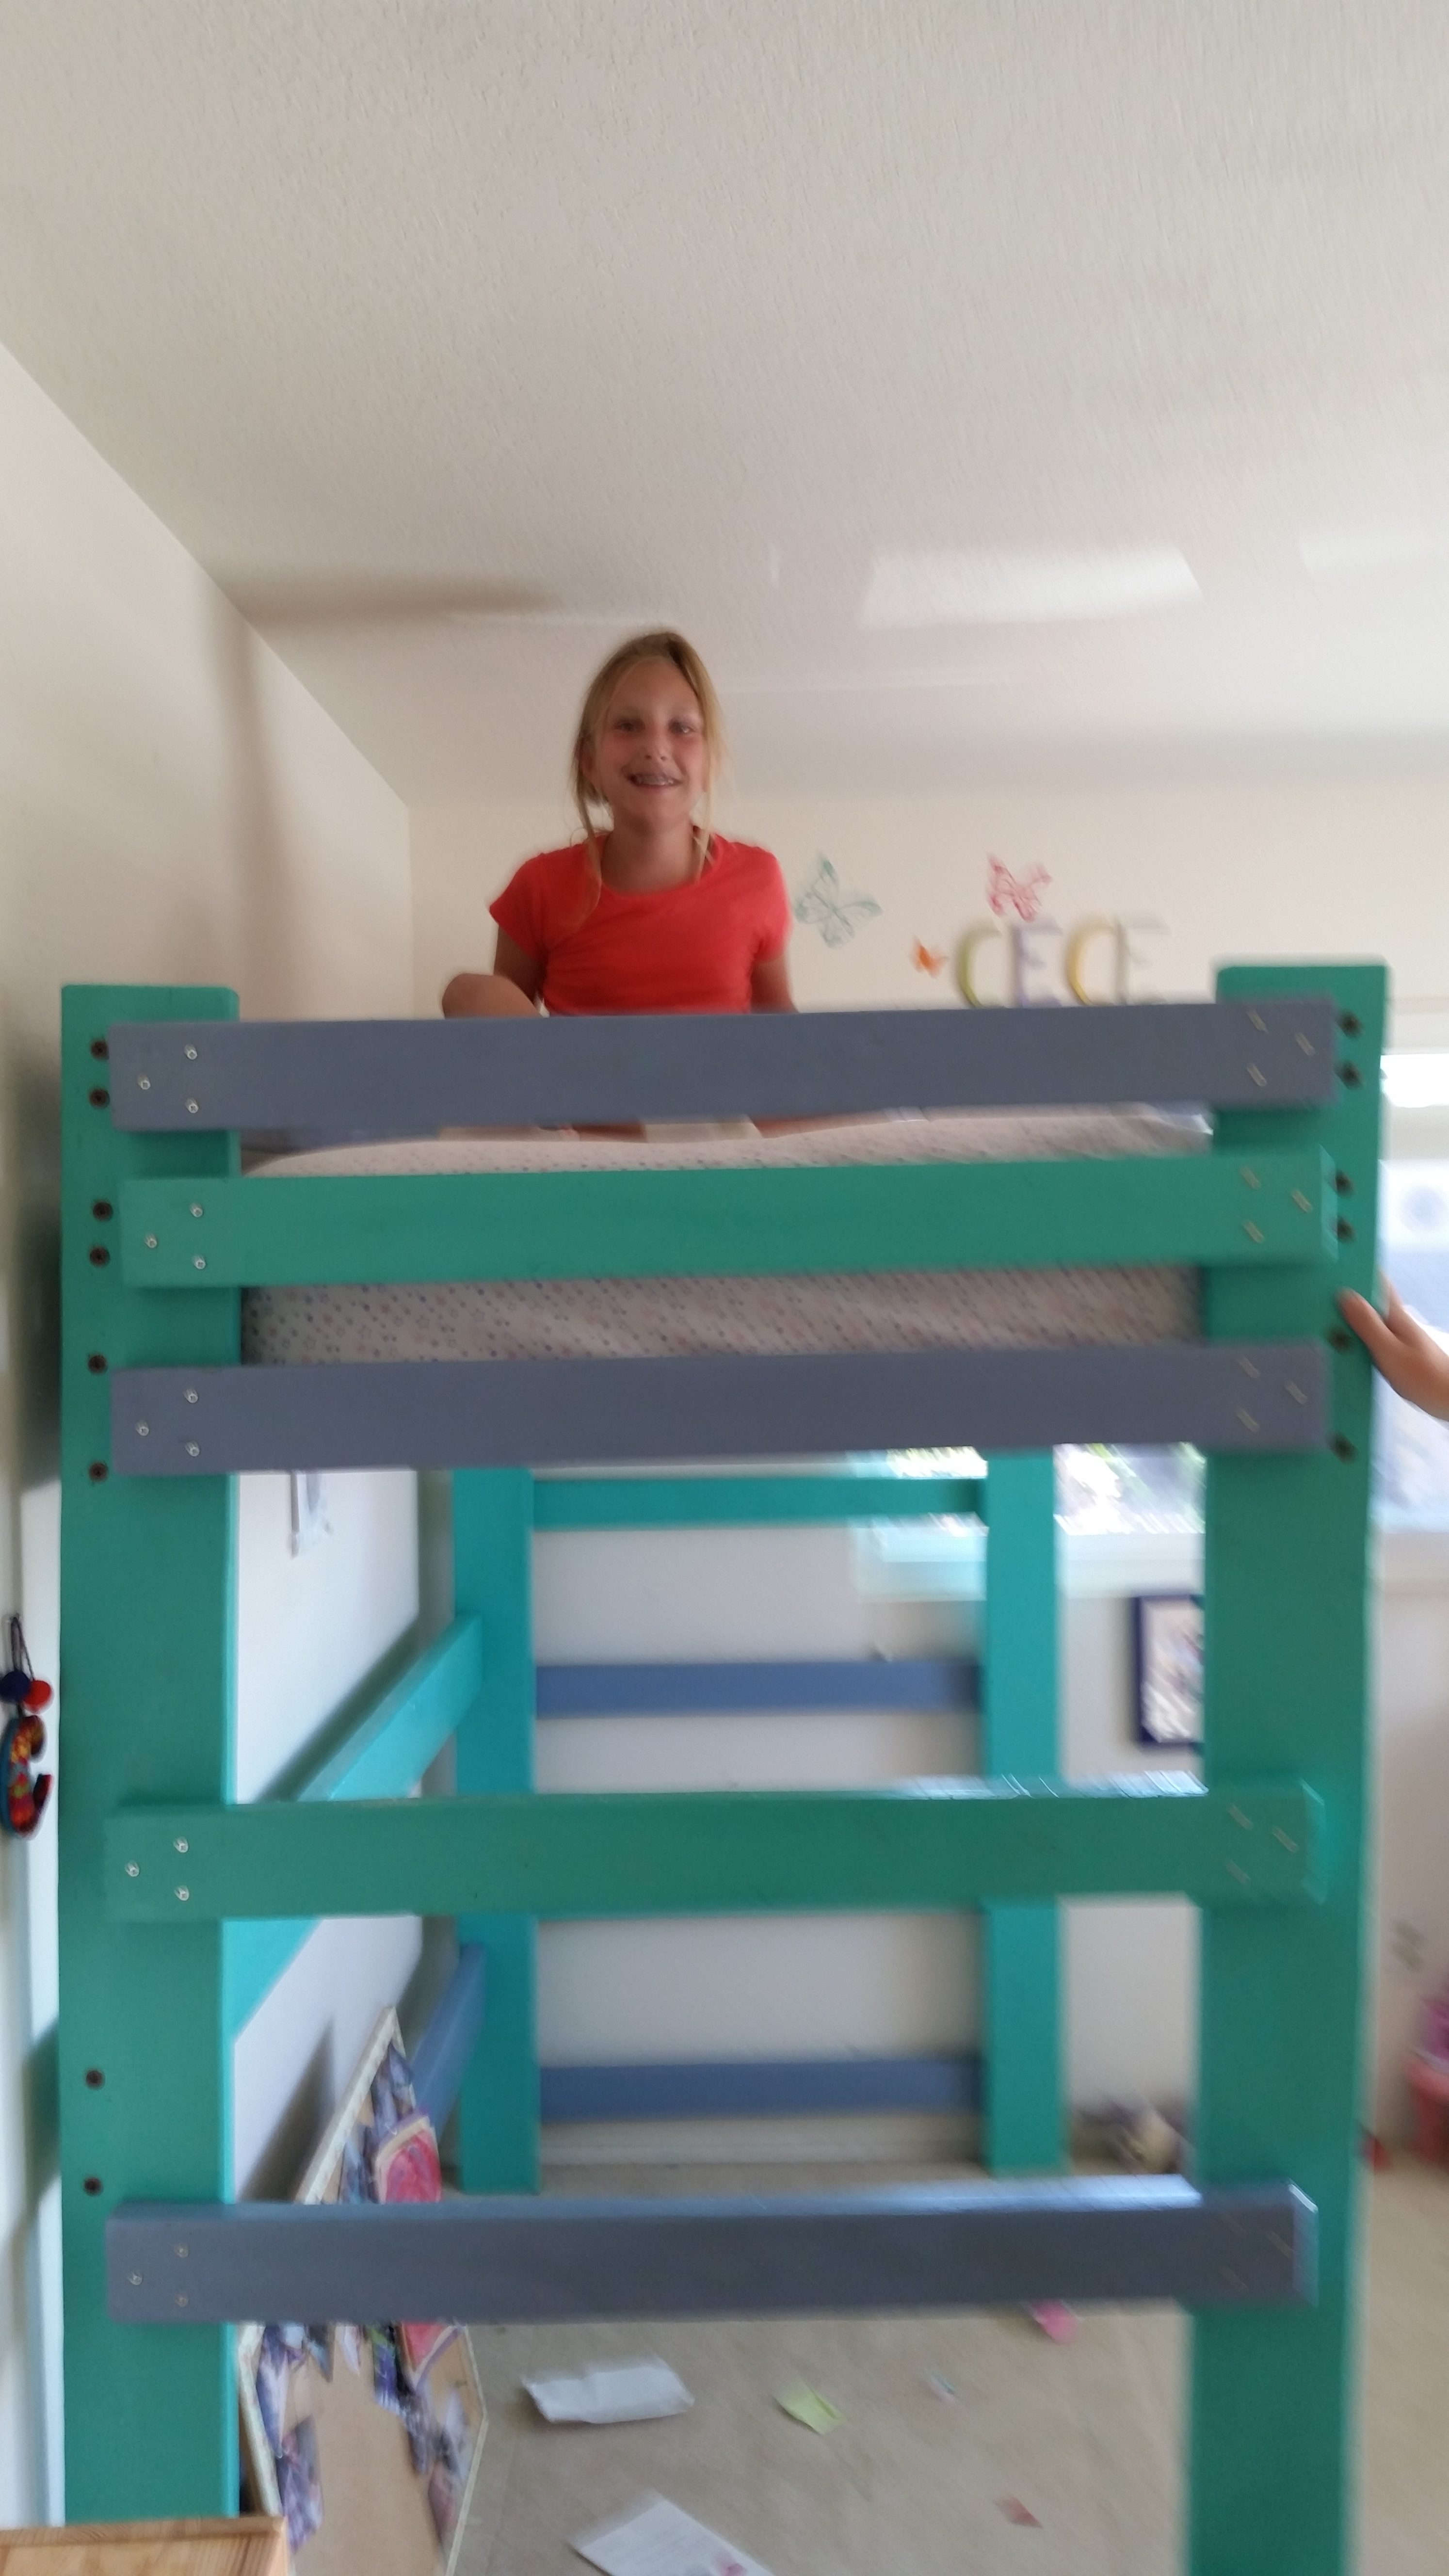
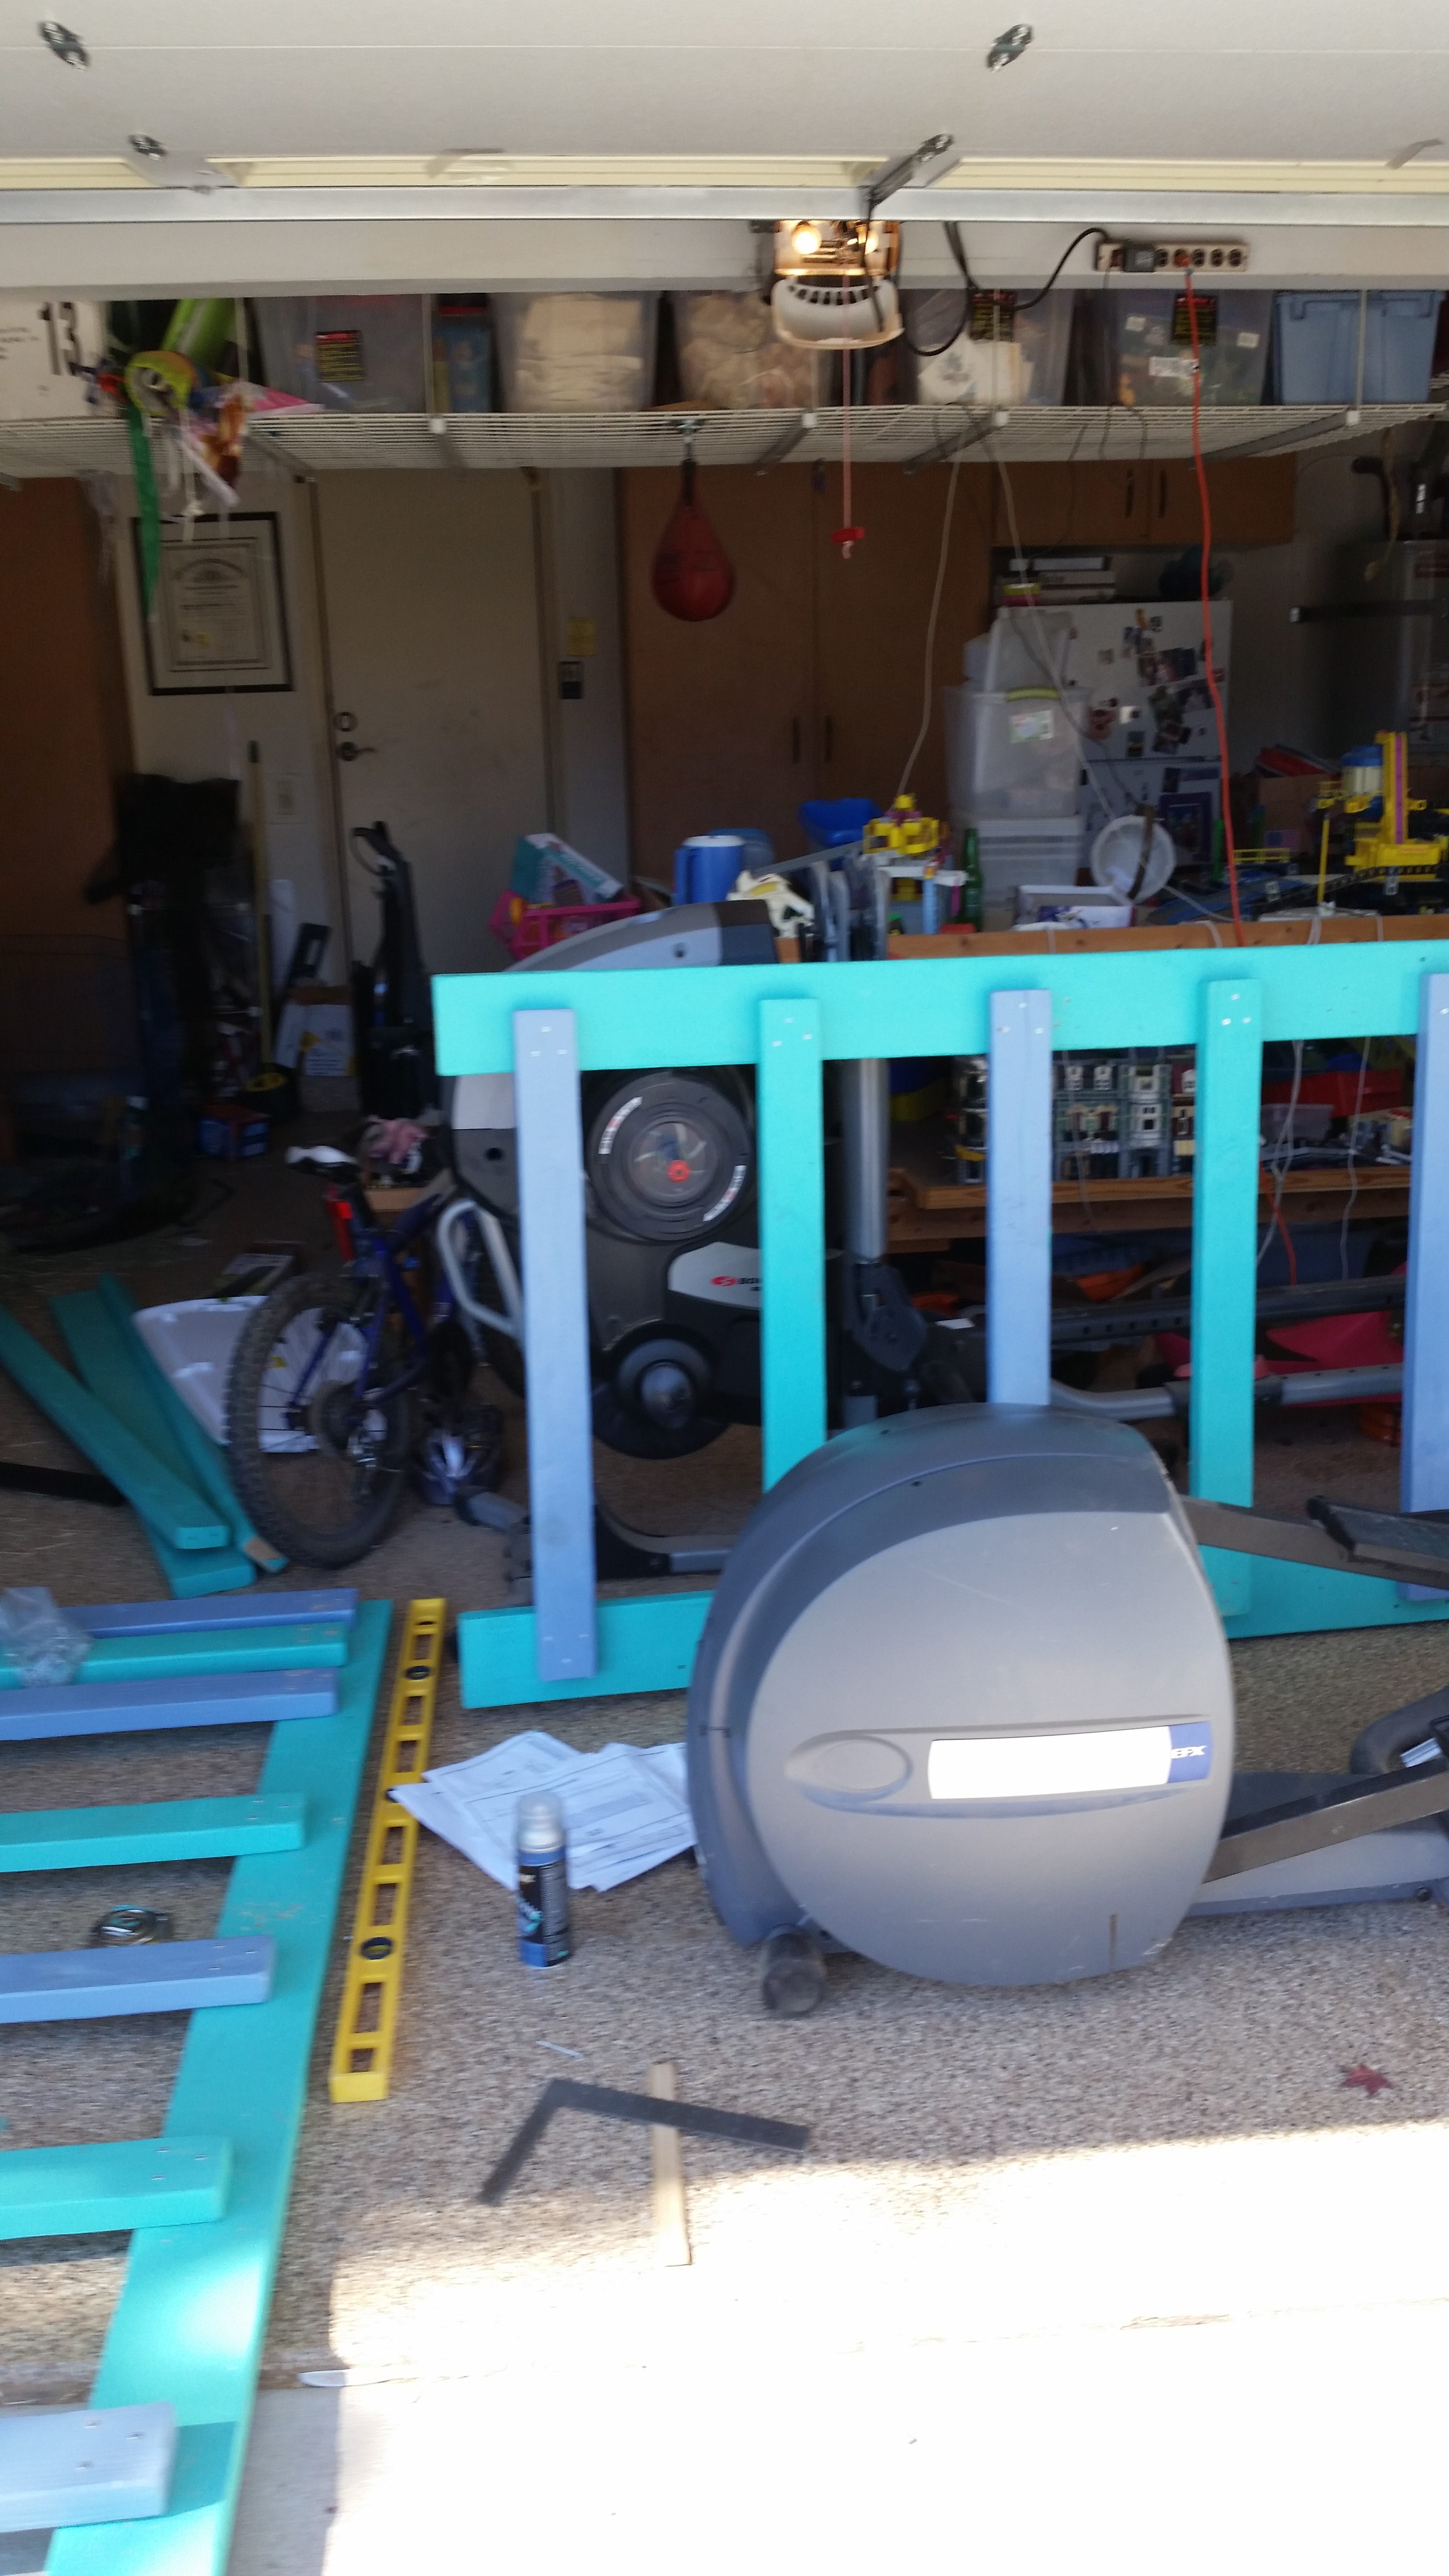
- Assembly: We let the paint dry over night before assembly. Assembly is done in sections. We built the sides outside and carried them upstairs for final assembly in our daughters bedroom. The final assembly is the only part that really requires two people. This is where you put the large lag bolts that provide the bulk of the support. The final step is to add the plywood for the mattress. Total time for assembly was about 2 hours.
Overall we built this bed in under 8 hours of active time, not including the trip to the lumber store. A pretty good deal in our book. Three years later our daughter is still using it. After two years she did have us saw a foot off the bottom to lower the bed. That was no big deal but we are not going to tell you how we did it because we choose the quick over the safe method. Nevertheless we appreciate that it was easy to lower this bed and not have to replace it. As mentioned the big concern with making an investment in this type of bed is that our daughter would out grow it in a year or two. Now we are thinking this should last through high school.